Signing up with OpenID Connect (OIDC)
Prerequisites
An Identity Provider supporting OpenID Connect.
- Create an OpenID application
- Configure the Redirect URL as
https://api.xplicittrust.com:443/v1.0/auth/callback/oidc - Note the Client ID and Client Secret
- Find out what the OpenID Base URL is (the location of the OpenID discovery document:
/.well-known/openid-configuration) - Keep the Client ID, Client Secret, and URL at hand for the next steps.
- Create the Groups
XplicitTrust AdministratorsandXplicitTrust Users, and assign users to manage access
How group membership is matched
XplicitTrust assigns the admin role to members of XplicitTrust Administrators
and the user role to members of XplicitTrust Users, based on the groups
claim of the ID token.
The group is recognized regardless of how your Identity Provider formats the
claim — all of the following are matched as XplicitTrust Administrators:
| Format | Example |
|---|---|
| Plain name | XplicitTrust Administrators |
| Group path | /XplicitTrust Administrators |
| LDAP distinguished name | CN=XplicitTrust Administrators,OU=Groups,DC=example,DC=com |
Matching is exact on the group name. For group paths, only the top-level
(root) group is considered, so a nested group such as
/Parent/XplicitTrust Administrators is not matched.
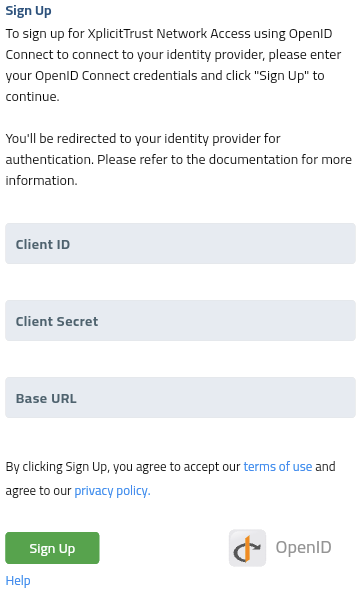
Sign Up
-
Fill in Client ID, Client Secret, and Base URL
-
Click the Signup button.
-
Follow the OpenID Connect login process.
-
You are now signed in to the XplicitTrust Admin Console:
https://console.xplicittrust.com/