Installation on Windows (in Asset Mode)
XplicitTrust can run on Windows systems in two modes:
-
Client Mode: for regular users to access services (like SSH, HTTPS, remote desktop, etc).
-
Asset Mode: services (like SSH, HTTPS, remote desktop, etc) can be remotely accessed from an XplicitTrust client, or from another system running in Asset Mode.
On this page are the instructions for Asset Mode.
Installation
To install the XplicitTrust agent:
Download client at https://dl.xplicittrust.com/xtna-agent.msi
Double click on the downloaded file to install (and accept any prompts, if necessary).
Please wait until you see a system tray icon that looks as follows, before moving to the next step:
![]()
Download client at https://dl.xplicittrust.com/xtna-agent.msi
Run the following (in Downloads folder), then wait ca. 30 seconds before next step:
msiexec /i xtna-agent.msi /qn
Run the following:
winget install XplicitTrust.Agent
Configuration
See the xtna-util reference for a complete list of available flags.
- To register the machine as an asset:
xtna-util -user <XplicitTrust admin email address> -
Open the URL that xtna-util returns in a browser to authenticate.
If you chose the Headless Installation above, your Asset is fully configured and should already appear as Online in the Command Console. If you have chosen the Graphical Installation proceed with the following steps.
-
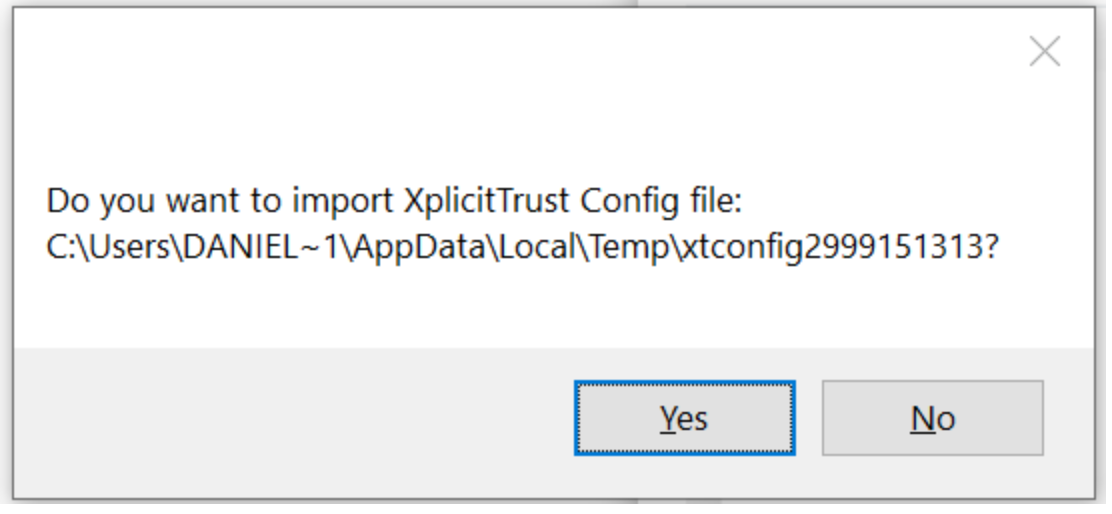
A window will open asking if you want to import the XplicitTrust config file.
If you don't see the window, please look in the task bar (not the system tray) for an icon that looks like this (highlighted in red), and click on it:
Please click "Yes" in the window:
-
The XplicitTrust icon in the system tray should now look like this:

This means the installation was successful, and the system is now connected.
Troubleshooting Tip
If you encountered problems during the installation, please check that your Windows sandbox is disabled. Windows sandbox networking can interfere with the host machine's networking.
How to Disable Windows Sandbox:
Use the search bar on the task bar and type 'Turn Windows Features on or off' to access the Windows Optional Features tool. Unselect Windows Sandbox and then OK. Restart the computer if you're prompted.
-
Go to the Admin Console settings page
-
Create a new "Asset Creation Token", configure it, download and store it in a secure place
-
Use the token to register assets
xtna-util -domain <tenant domain> -token <token>If you chose the Headless Installation above, your Asset is fully configured and should already appear as Online in the Command Console. If you have chosen the Graphical Installation proceed with the following steps.
-
A window will open asking if you want to import the XplicitTrust config file.
If you don't see the window, please look in the task bar (not the system tray) for an icon that looks like this (highlighted in red), and click on it:Please click "Yes" in the window:
-
The XplicitTrust icon in the system tray should now look like this:
This means the installation was successful, and the system is now connected.
Troubleshooting Tip
If you encountered problems during the installation, please check that your Windows sandbox is disabled. Windows sandbox networking can interfere with the host machine's networking.
How to Disable Windows Sandbox:
Use the search bar on the task bar and type 'Turn Windows Features on or off' to access the Windows Optional Features tool. Unselect Windows Sandbox and then OK. Restart the computer if you're prompted.
-
Go to the Admin Console assets page
-
Click "Create new" button, fill out form, click "Apply"
-
Click "Download Config" icon at top of the form box:

-
Copy the configuration to the asset and run:
xtna-util -import xtna-*.xtconfigIf you chose the Headless Installation above, your Asset is fully configured and should already appear as Online in the Command Console. If you have chosen the Graphical Installation proceed with the following steps.
-
A window will open asking if you want to import the XplicitTrust config file.
If you don't see the window, please look in the task bar (not the system tray) for an icon that looks like this (highlighted in red), and click on it:Please click "Yes" in the window:
-
The XplicitTrust icon in the system tray should now look like this:
This means the installation was successful, and the system is now connected.
Troubleshooting Tip
If you encountered problems during the installation, please check that your Windows sandbox is disabled. Windows sandbox networking can interfere with the host machine's networking.
How to Disable Windows Sandbox:
Use the search bar on the task bar and type 'Turn Windows Features on or off' to access the Windows Optional Features tool. Unselect Windows Sandbox and then OK. Restart the computer if you're prompted.
System Tray Icons
You can see the status of your XplicitTrust Windows client in the system tray at the bottom right of the screen (not on Windows Server Core):
![]() XplicitTrust tunnels are up and running, click on it to see status information.
XplicitTrust tunnels are up and running, click on it to see status information.
![]() Windows client is authenticating itself, tunnels are not up yet.
Windows client is authenticating itself, tunnels are not up yet.
![]() Windows client is offline.
Windows client is offline.
Microsoft DNS Server
If you are installing the xtna-agent on a Windows server running a DNS server, there are some configurations you need to take care of.
Registered XplicitTrust IP on the DNS server
By default, the Microsoft DNS server listens on all interfaces and registers the IPs of all interfaces under its own hostname.
This also means that when a client asks for the hostname of the DNS server, it gets all those IPs back and can decide which of those IPs to use.
In some cases, this may cause clients not connected to XTNA to try to use the XTNA overlay IP of the DNS server.
To avoid this, it is recommended to disable this default behavior and only associate the IPs with the DNS server that clients can normally reach.
This can be done either by manually setting the registry key: HKEY_LOCAL_MACHINE\SYSTEM\CurrentControlSet\Services\DNS\Parameters\PublishAddresses
to the IP addresses the DNS server should reply with when asked for it's own hostname and then restarting the DNS server.
Or by running the following commands in Powershell
$domain = "YOURDOMAIN.XY"
$V4IPs = @(Get-DnsServerResourceRecord -ZoneName $domain | Where-Object {$_.RecordType -eq "A" -And -Not $_.RecordData.Ipv4Address.toString().StartsWith("100.100") -And $_.HostName -eq $env:COMPUTERNAME} | Select-Object -ExpandProperty RecordData | ForEach-Object {($_.IPv4Address)}) -join ','
$V6IPs += @(Get-DnsServerResourceRecord -ZoneName $domain | Where-Object {$_.RecordType -eq "AAAA" -And -Not $_.RecordData.Ipv6Address.toString().StartsWith("fd95:7b11:215f:af15") -And $_.HostName -eq $env:COMPUTERNAME} | Select-Object -ExpandProperty RecordData | ForEach-Object {($_.IPv6Address)}) -join ','
if ($V6IPs) { $IPs = $V4IPs + ',' + $V6IPs } else { $IPs = $V4IPs }
New-ItemProperty -Path Registry::HKEY_LOCAL_MACHINE\SYSTEM\CurrentControlSet\Services\DNS\Parameters -Name "PublishAddresses" -PropertyType MultiString -Value $IPs
Restart-Service DNS
Reserving Ports for the DNS Server
The Microsoft DNS server reserves a wide range of UDP ports for it's socket pool. The xtna-agent also needs to listen on some UDP Ports, but the actual UDP port to use is not determined, so we need to exclude a specific range from the Microsoft DNS server so that the xtna-agent can bind to these ports. Here are the commands to run in Powershell:
$DnsServerSettings = Get-DnsServerSetting -ALL
$DnsServerSettings.SocketPoolExcludedPortRanges =  {51800-60000}
$DnsServerSettings | Set-DnsServerSetting
Tested Windows Versions
Windows 10, Windows 11, Windows Server 2019, Windows Server 2019 Core, Windows Server 2012
Troubleshooting
If the registration fails or the agent is not able to get Online check that outgoing HTTPS connections (TCP port 443) are allowed. For the best experience, allow outgoing connections on UDP port range 51820 - 60000.
Consult the FAQ to learn more about troubleshooting firewalls.