Signing up with Okta Workforce Identity Cloud
Prerequisites
An Okta Workforce Identity Cloud account.
Create a new Okta OIDC - OpenID Connect - Application Integration
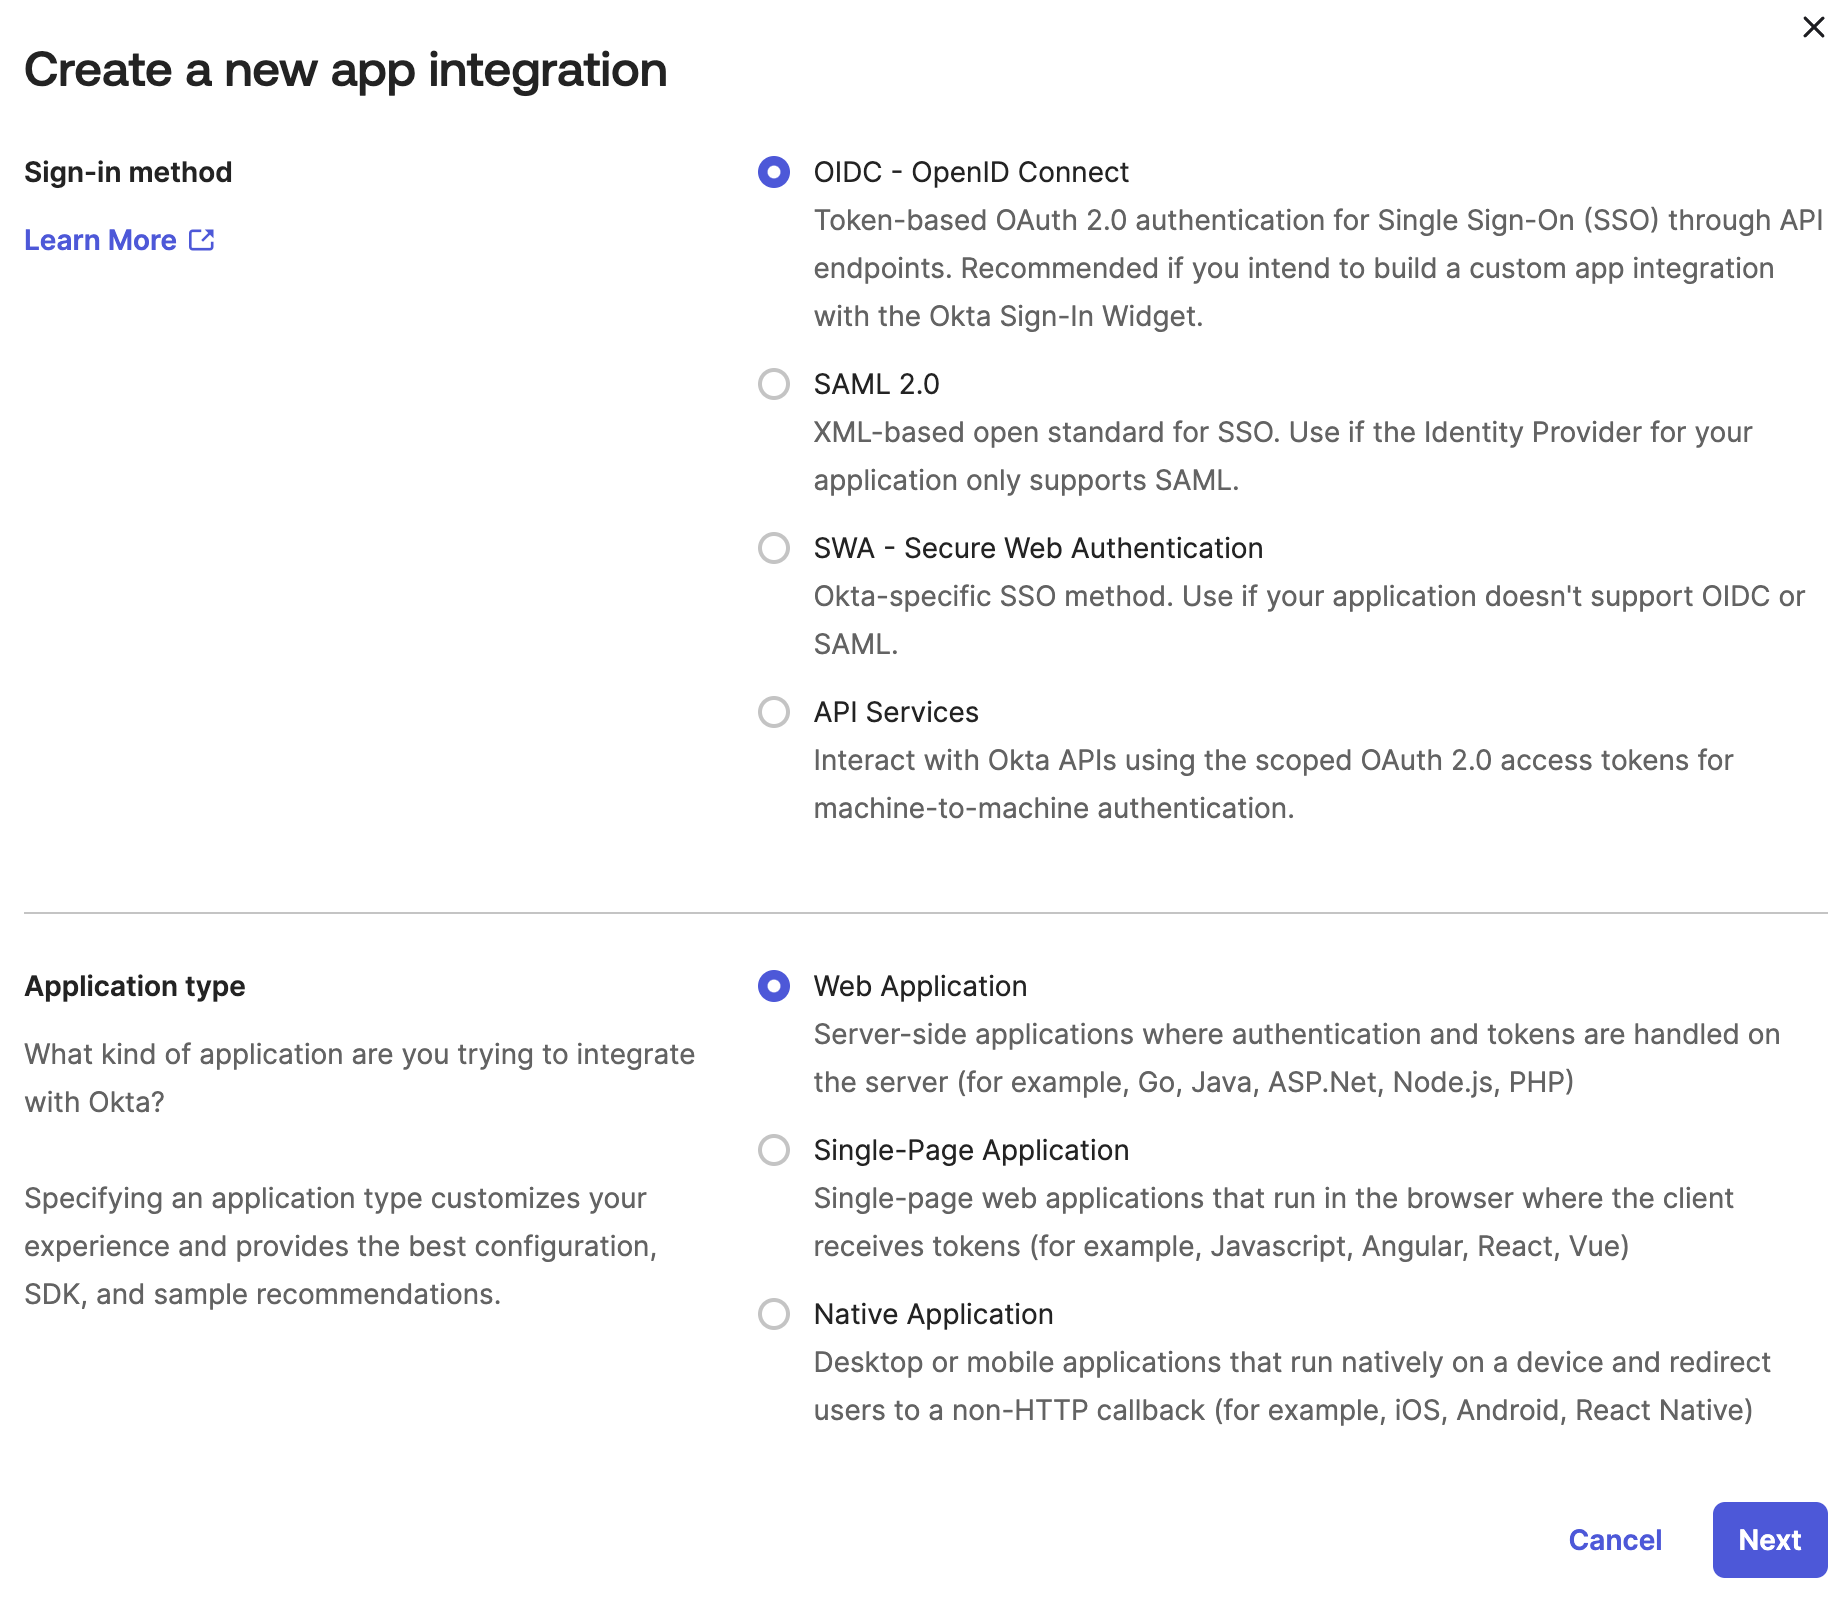
Create the app integration
- Log into your Okta Admin Console
- Navigate to
Applications,Applicationsand clickCreate App Integration - For
Sign-in method, selectOIDC - OpenID Connect - For
Application type, selectWeb Application - Click
Next
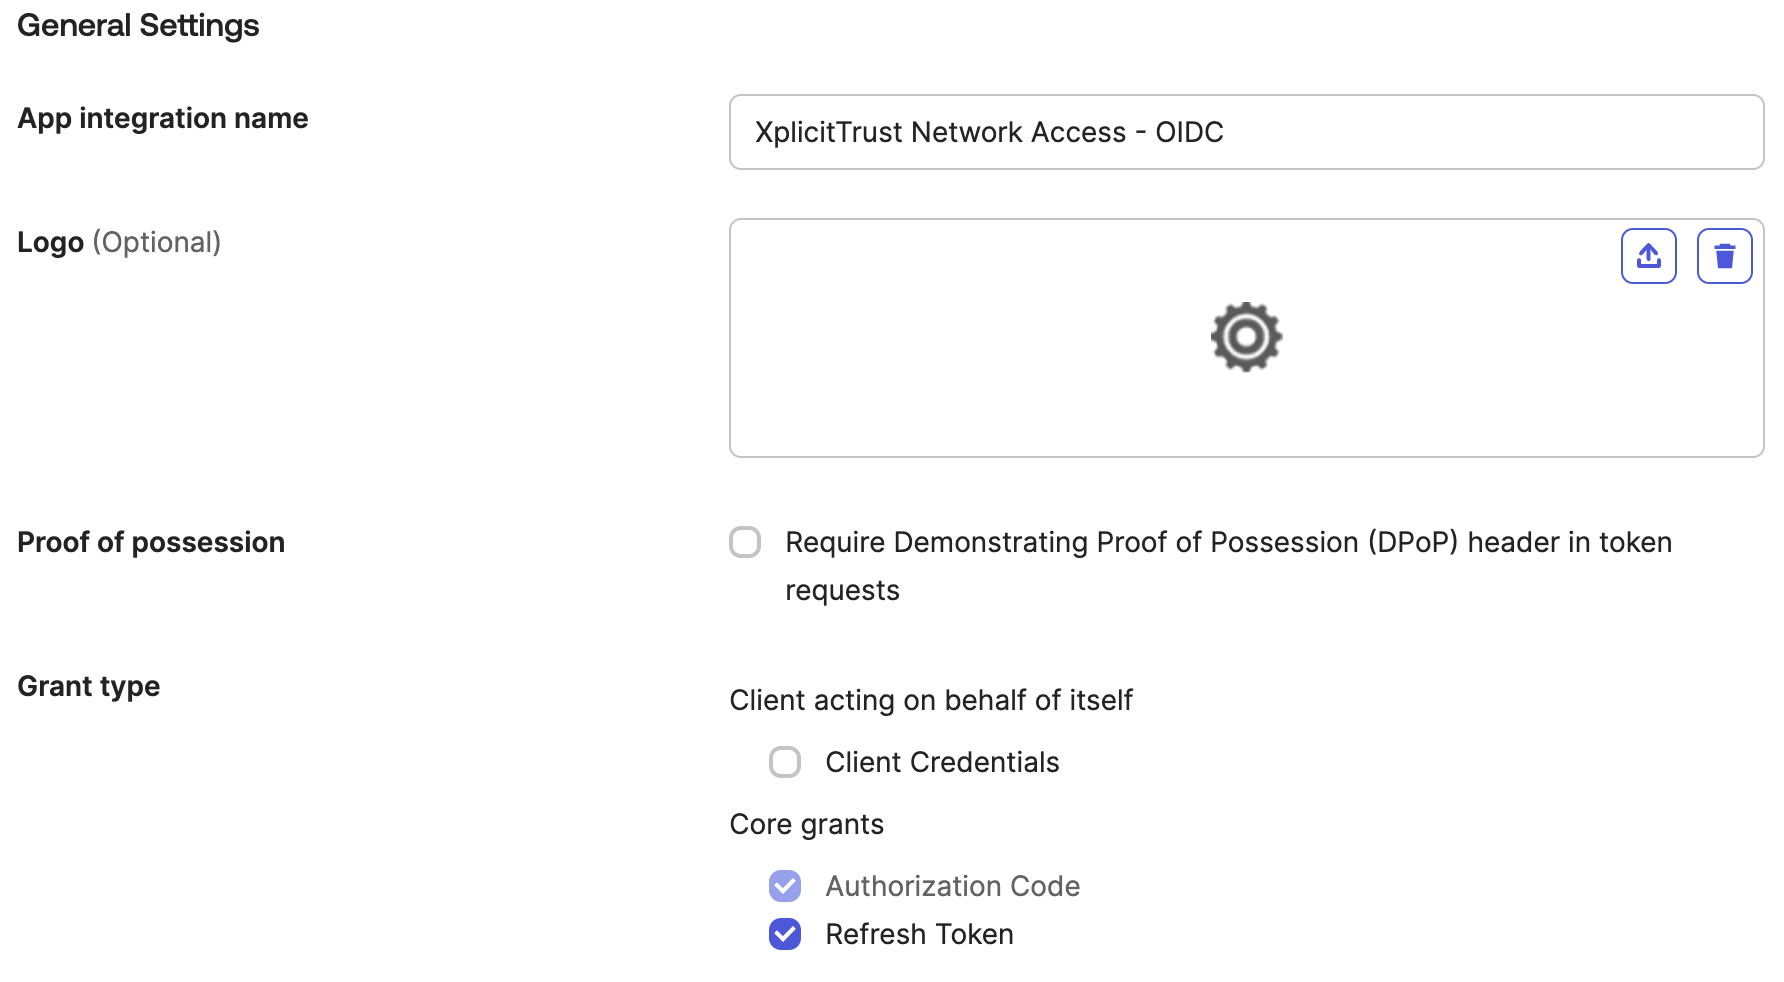
Configure General Settings
- In the
General Settingssection, enter the nameXplicitTrust Network Access - OIDC - Under
Grant type, selectRefresh Token
Configure Redirect URLS
- In the
Sign-in redirect URLssection, enterhttps://api.xplicittrust.com:443/v1.0/auth/callback/okta

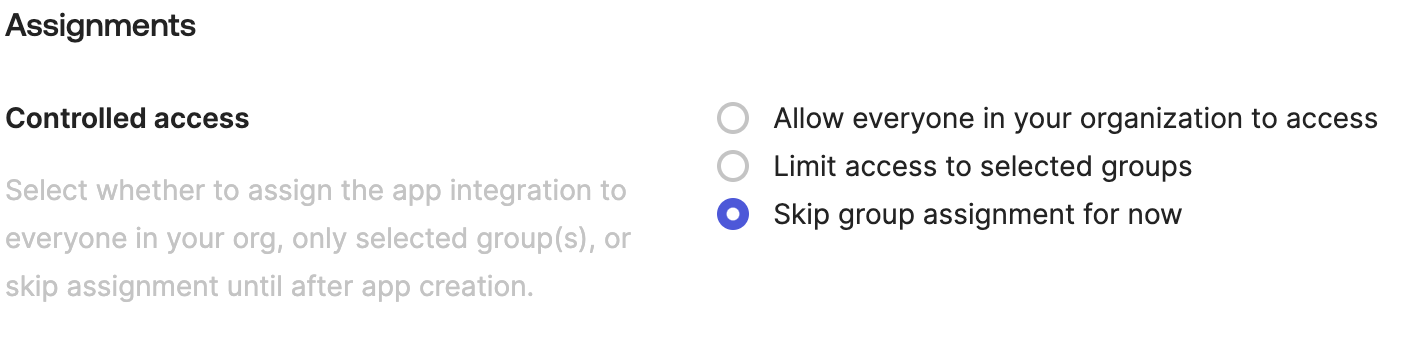
Configure Assignments
- In the
Assignmentssection, selectSkip group assignment for now. - Click
Save
Configure the Okta OIDC - OpenID Connect - Application Integration
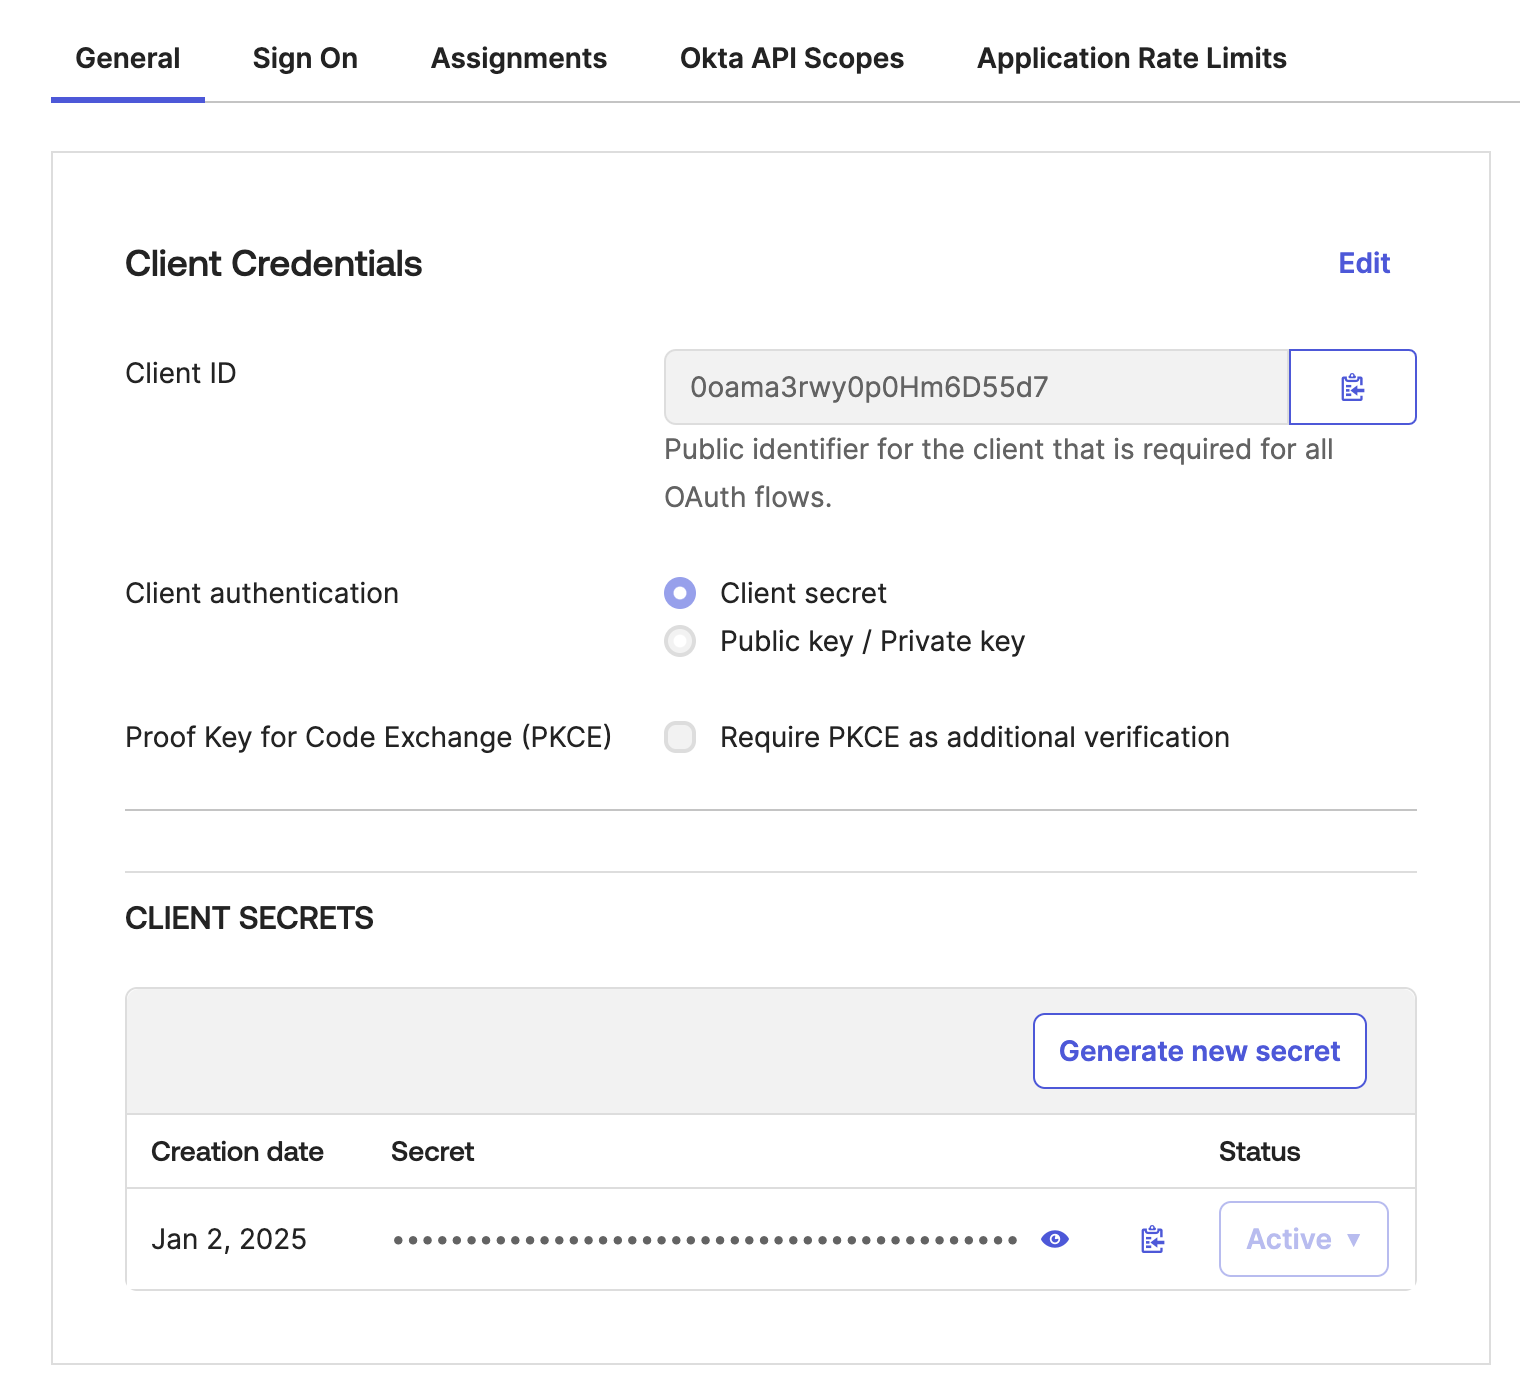
Save the Client Credentials
- Go to the newly created
XplicitTrust Network Access - OIDCapp - Copy the
Client IDand theClient Secretand save it for later use.
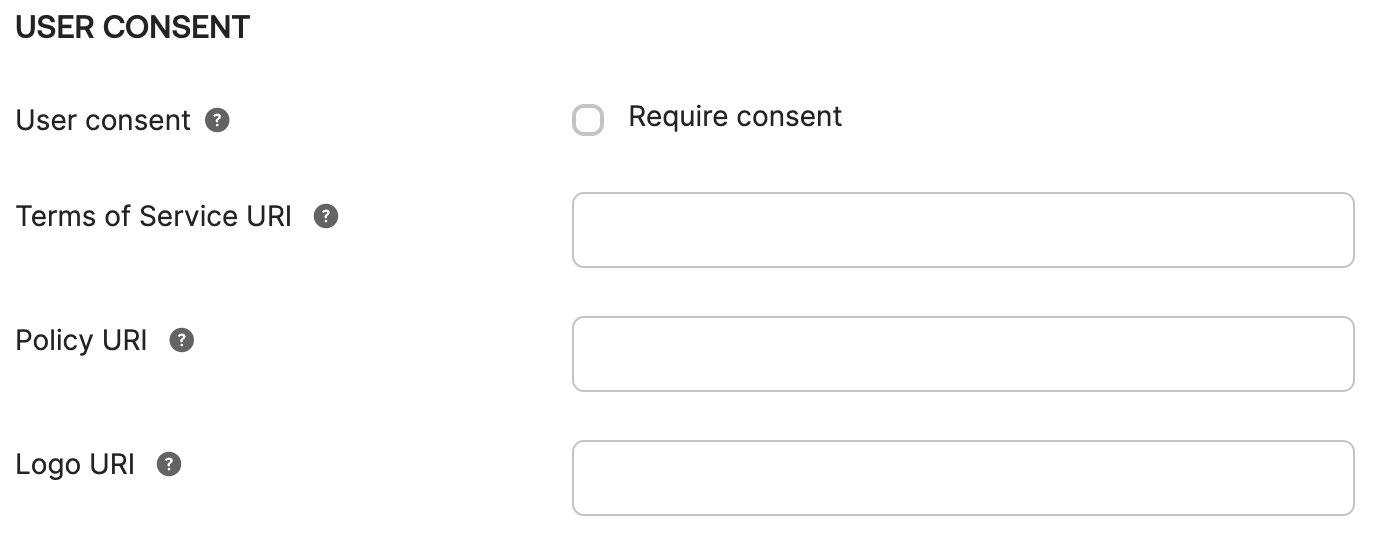
Configure User Consent behavior
- Scroll to the
General Settingssection on the same tab and clickEdit - Scroll to the
USER CONSENTsubsection and deselectRequire Consent - Scroll down the
General Settingssection and clickSave
Configure the XplicitTrust roles attribute
- Navigate to the
Sign Ontab
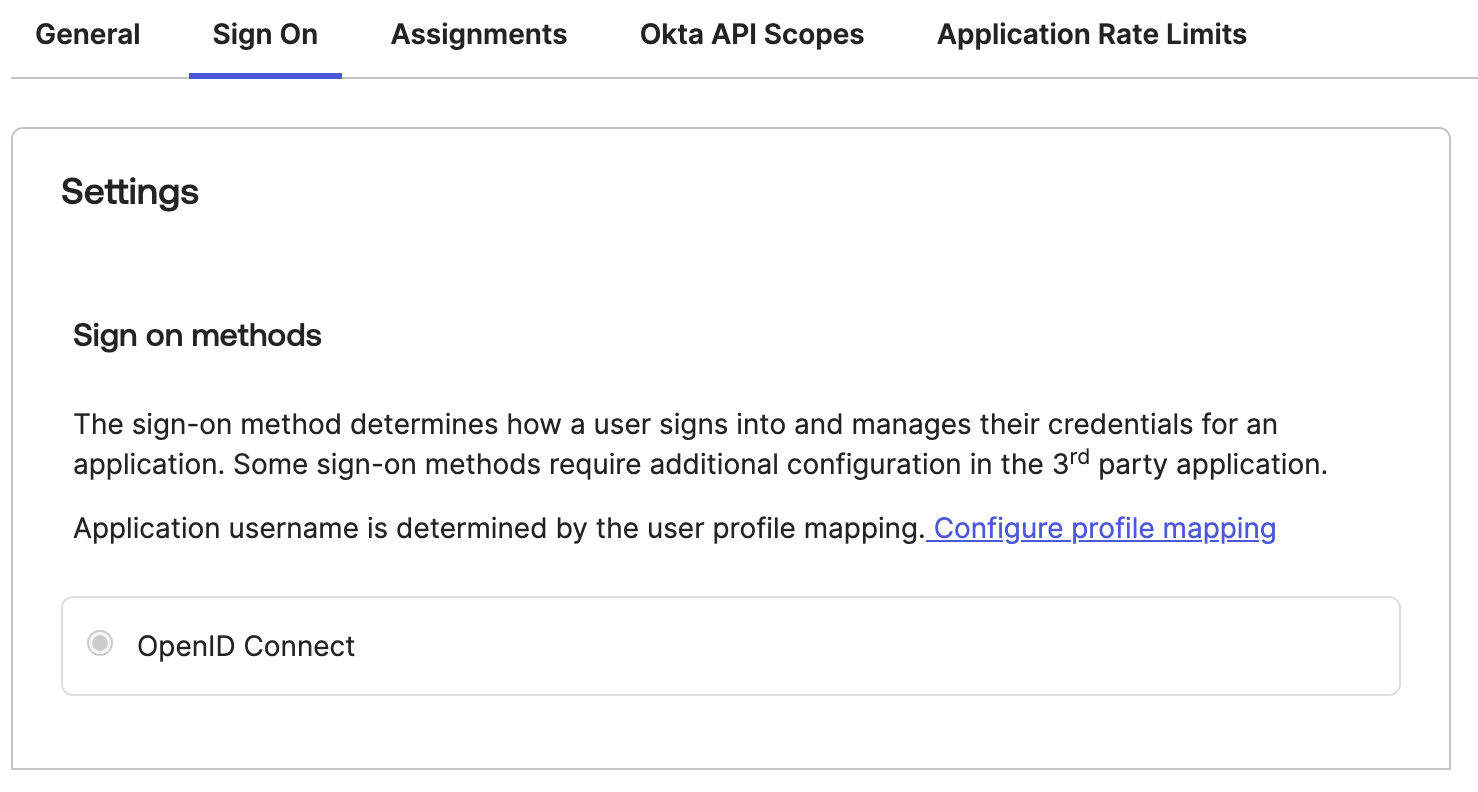
- Click
Configure profile mappingand close the mappings view right away (with thexin top right) - Fill out the
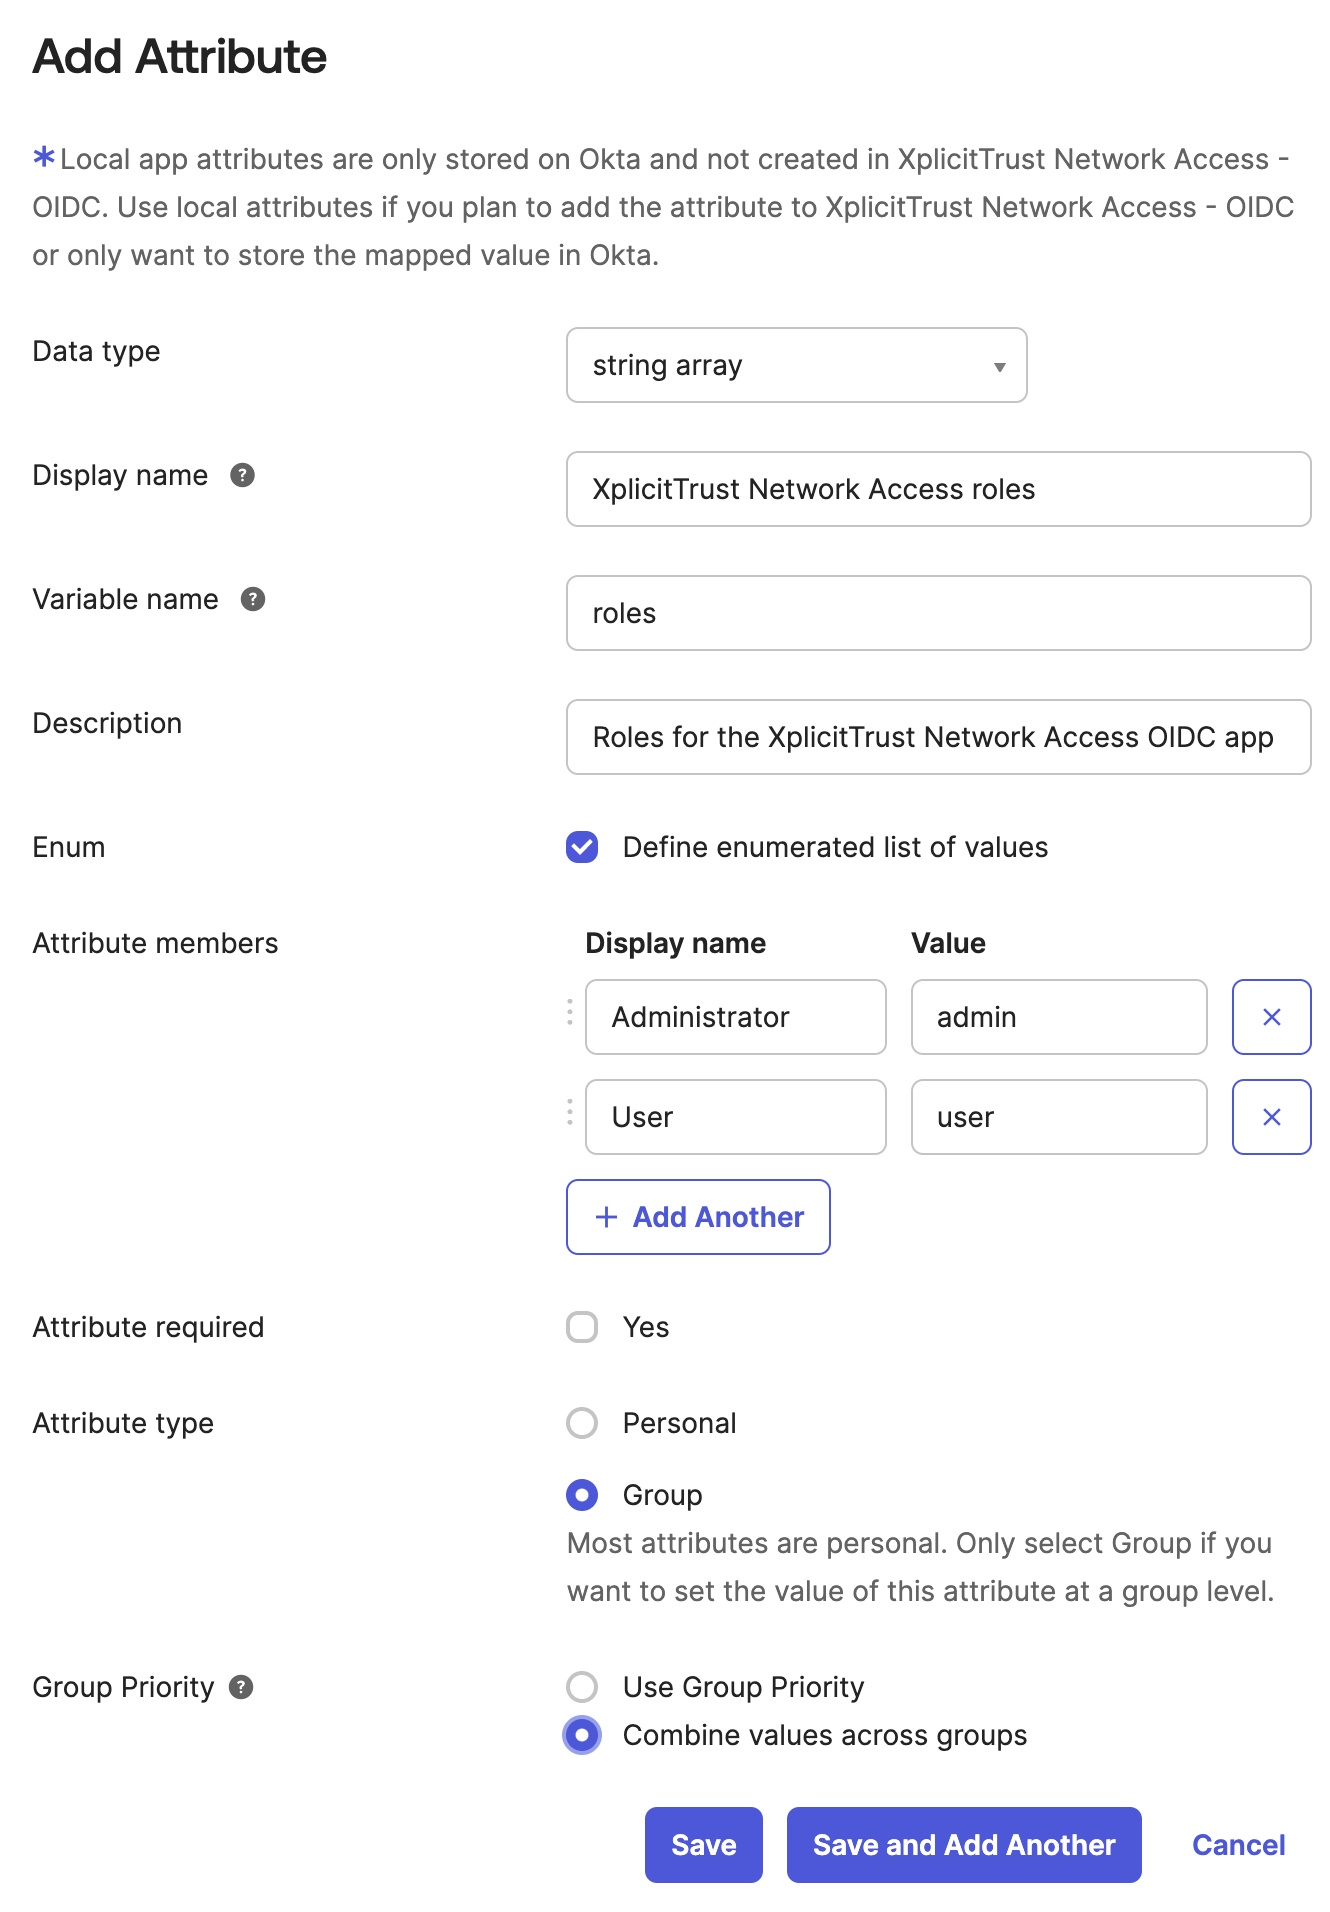
Add Attributeform as shown in the picture above and clickSave
- Fill out the
Add Attributeform - Click
Save
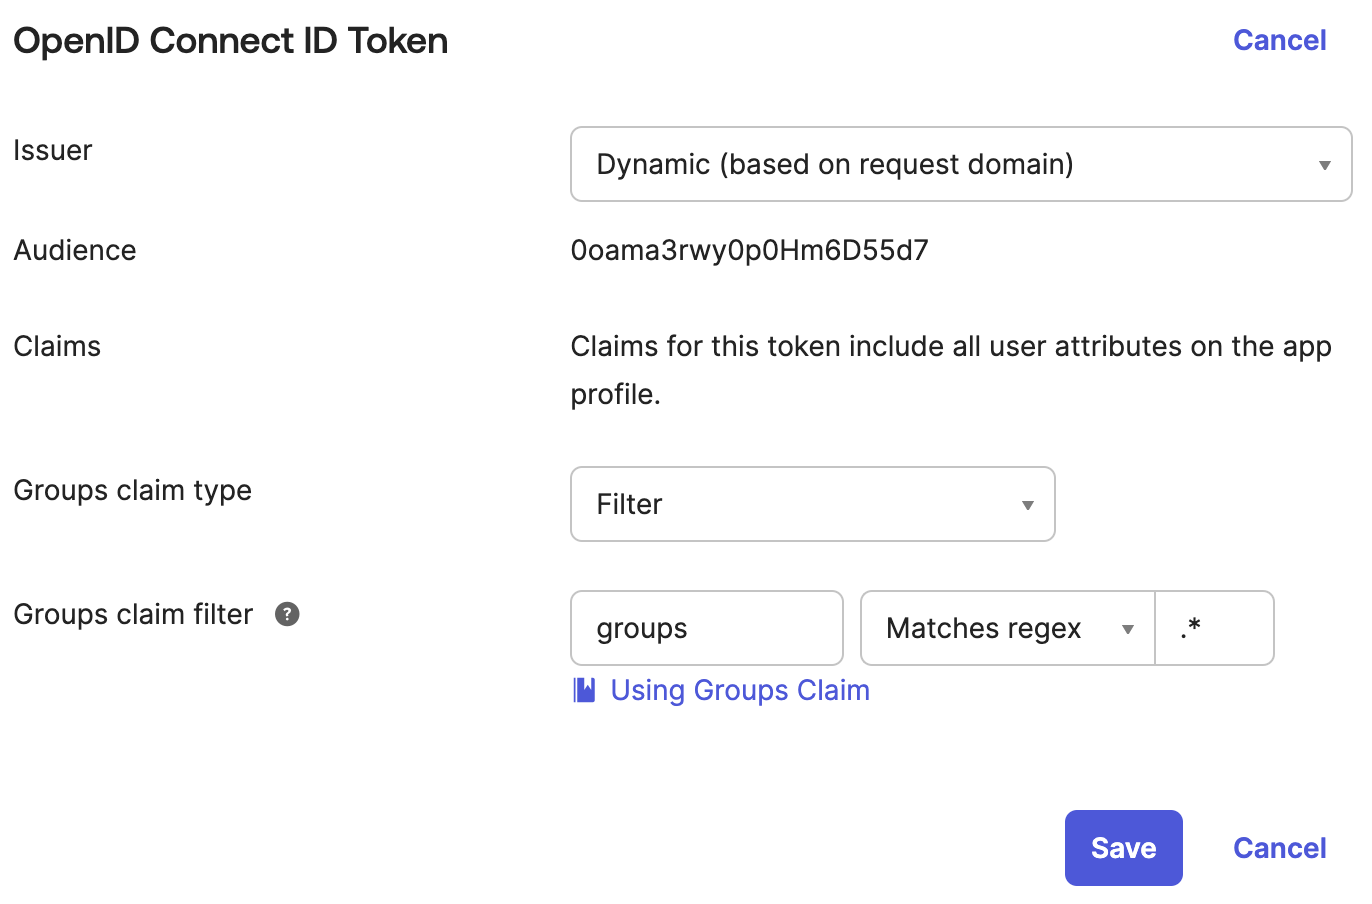
Configure the OpenID Connect ID Token Groups claim
- Navigate to the
Sign Ontab - Scroll down to the
OpenID Connect ID Tokensection and clickEdit - Configure the following settings:
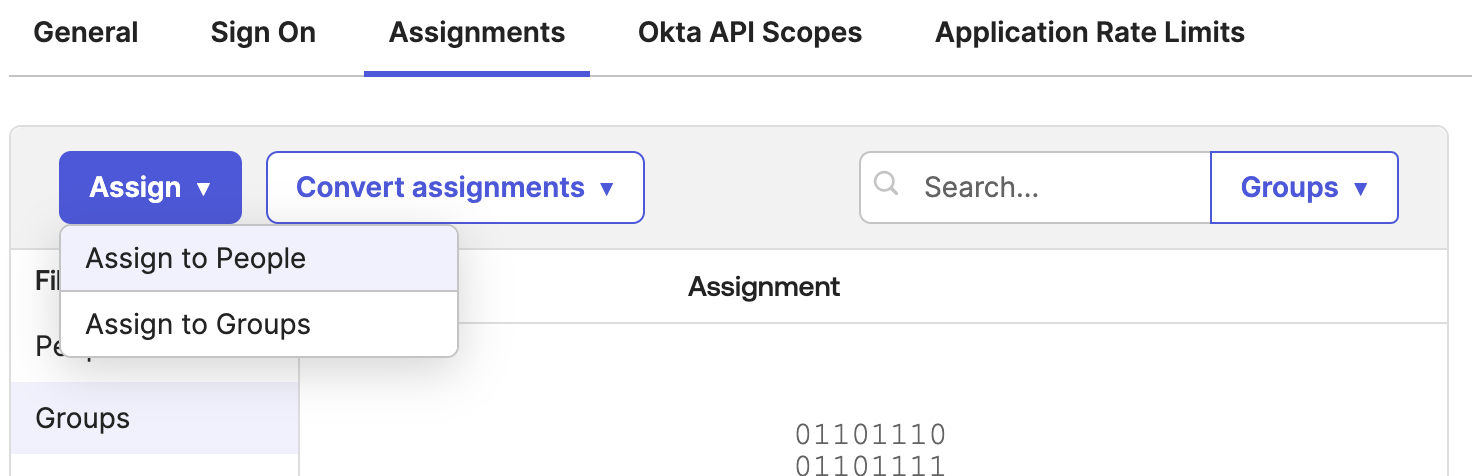
Configure the Administrator Group Assignment
- Navigate to the
Assignmentstab - Click
AssignandAssign to Group
-
Select a group that you would like to give Admin Access to the XplicitTrust Management Console and click
Assign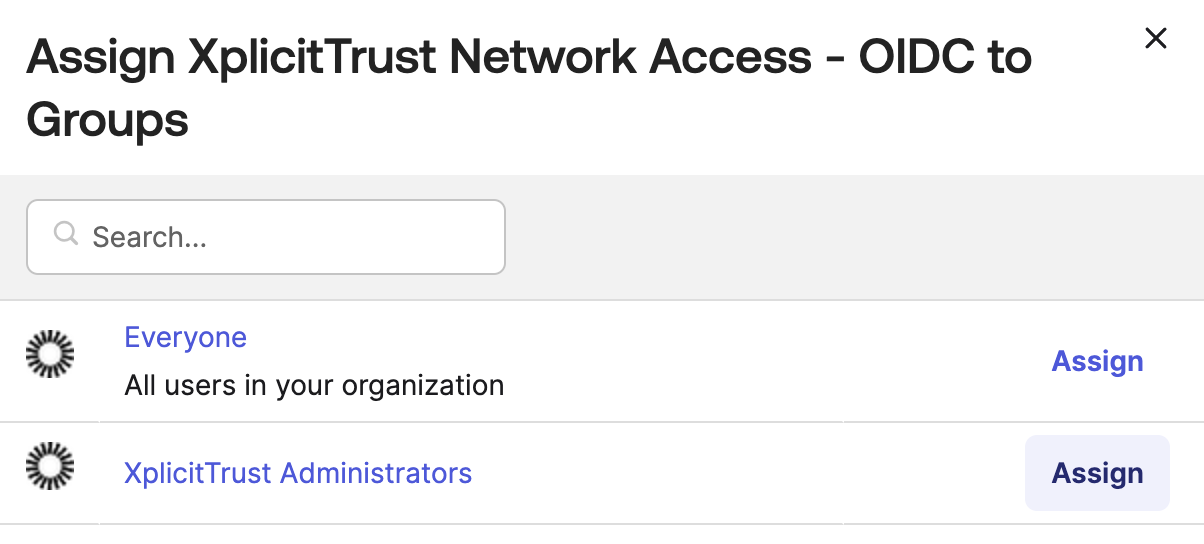
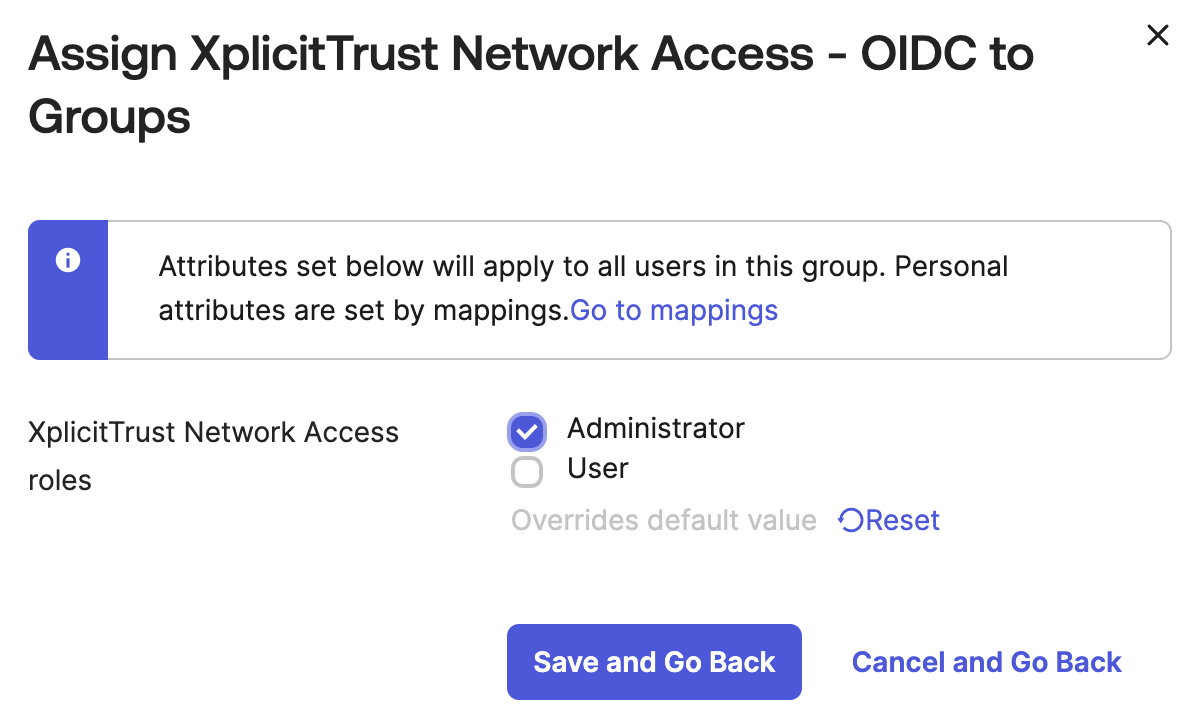
-
Select
Administrator - Click
Save and Go Backand thenDone
Install XplicitTrust Network Access API Service Integration
- Log into your Okta Admin Console
- Navigate to
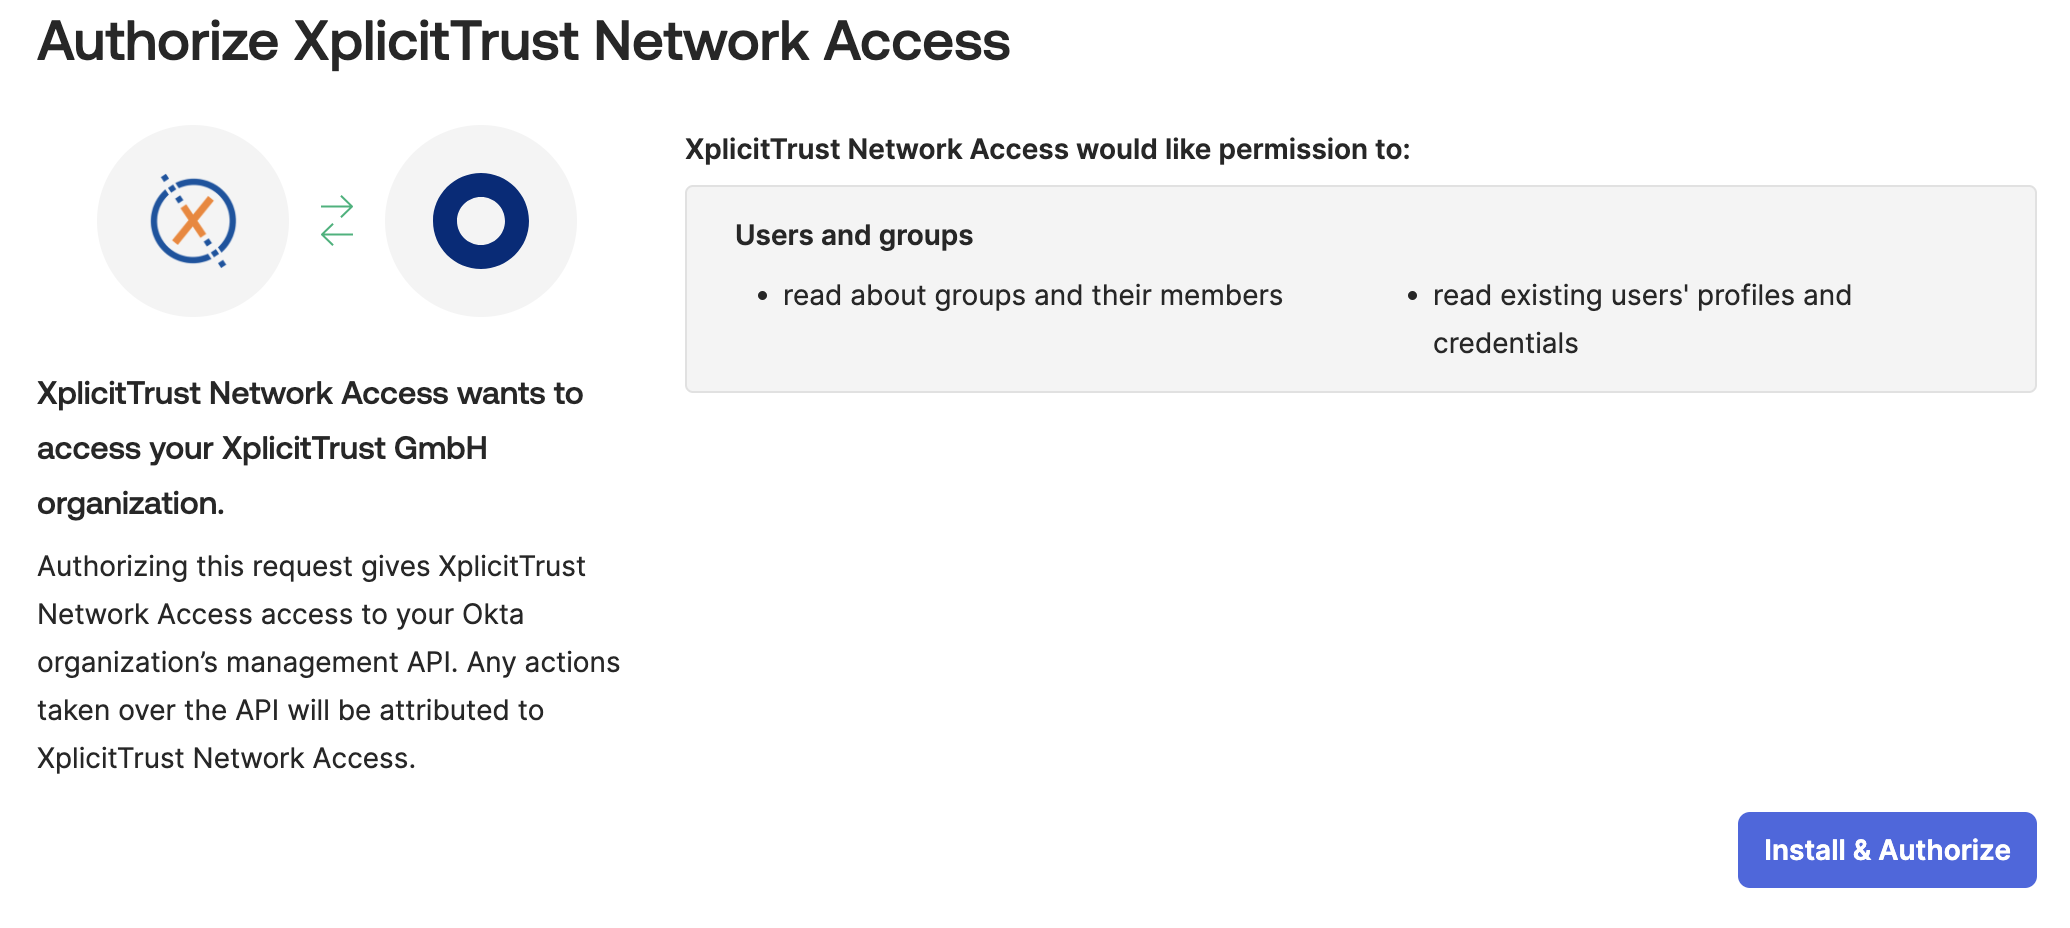
Applications,API Service Integrations,Add Integrationand chooseXplicitTrust Network Access - Click
Install & Authorize
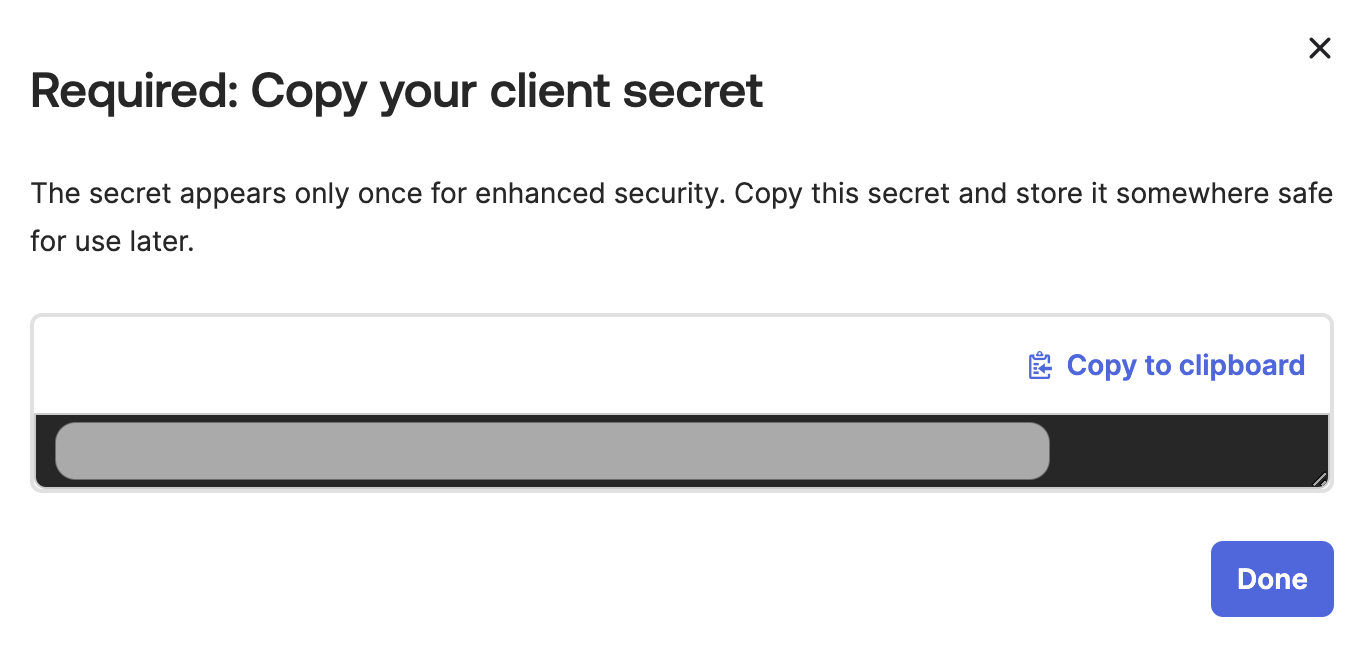
- Once authorization is complete Okta will provide you with the information below which you will need to copy and save for the configuration of XplicitTrust Network Access
- Copy the
Client Secretand clickDone
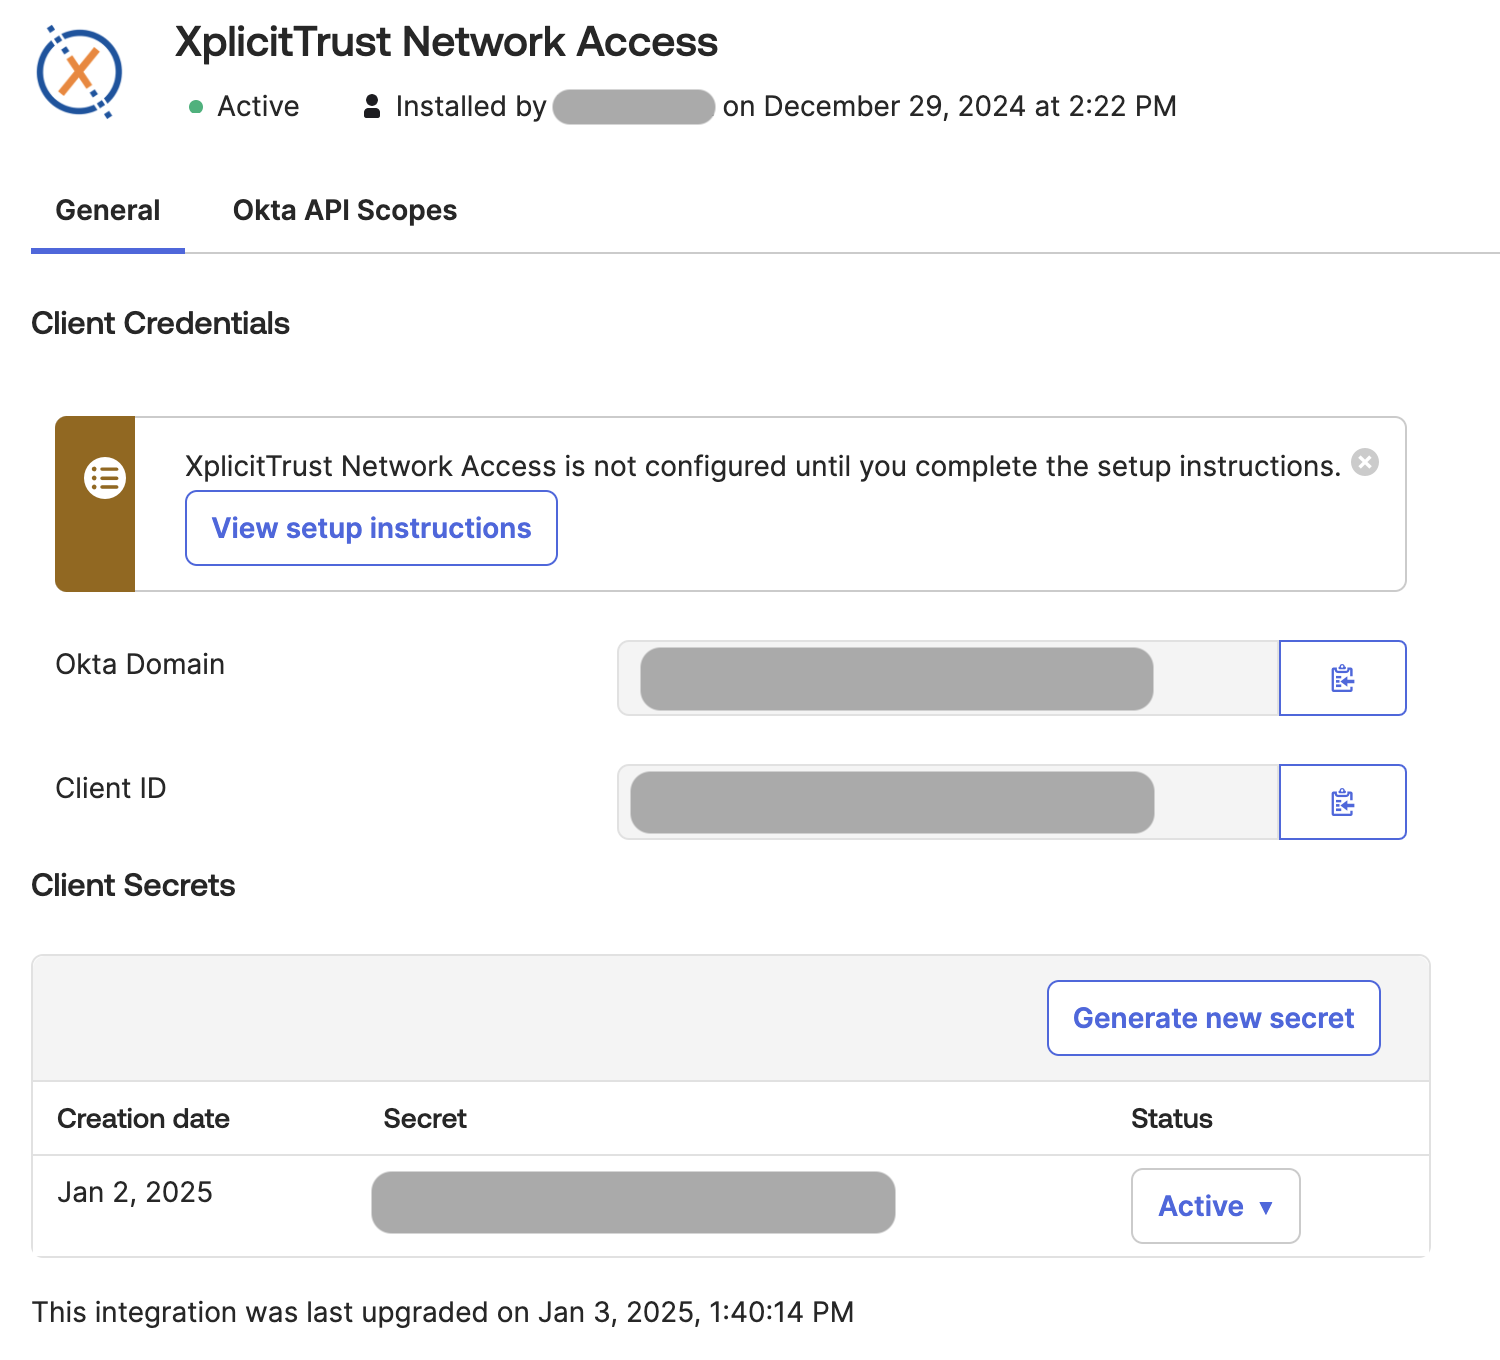
- Copy your Okta Domain & Client ID
Sign Up for XplicitTrust Network Access
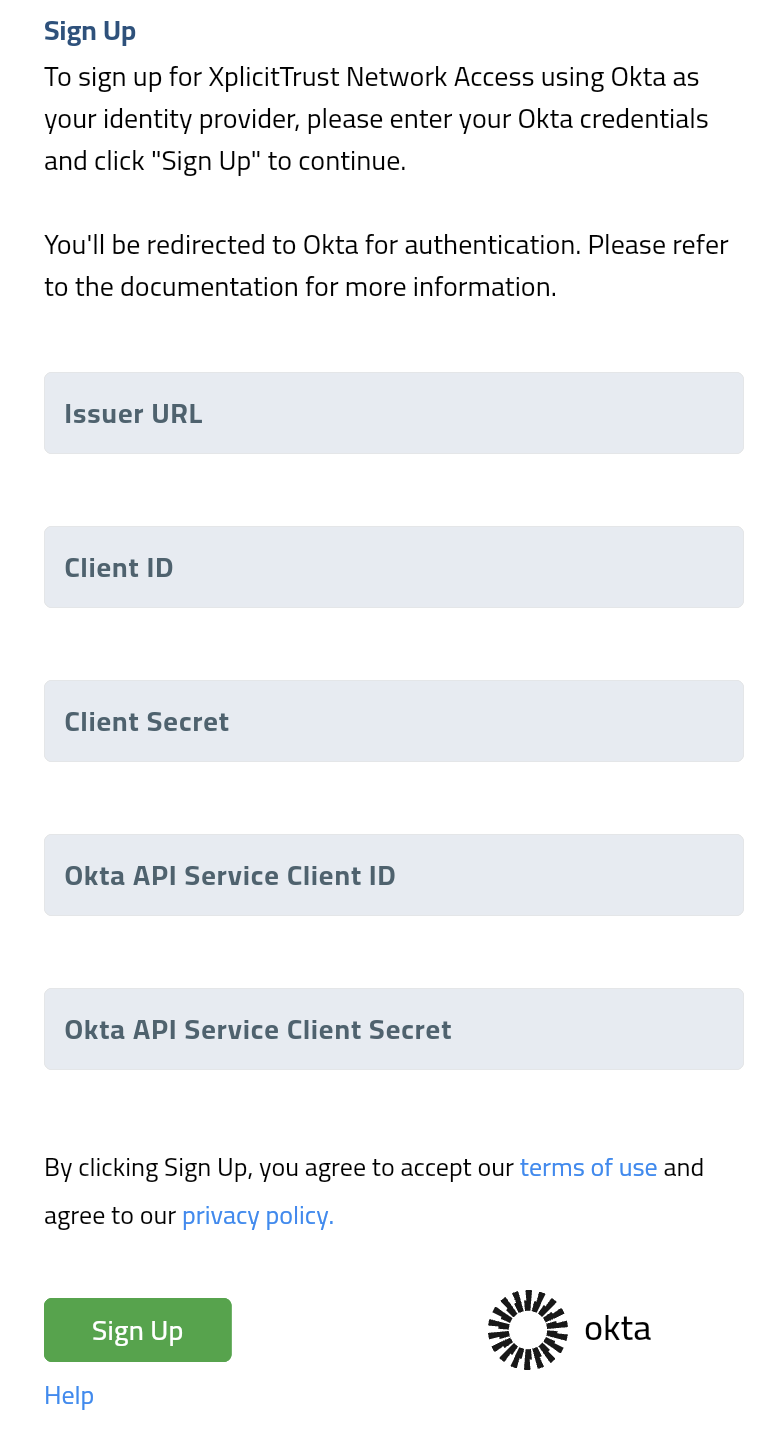
- Navigate to https://console.xplicittrust.com/#/signup/okta
- Fill in your Okta domain as
Issuer URL(for example:https://{your-domain}.okta.com, remove the-adminpart in the URL, as it is just the login for the Okta administrator console) - Fill in the
Client IDandClient Secretfrom the Okta OIDC Application Integration - Fill in the
Okta API Service Client IDfrom the Okta API Service Application Integration -
Fill in the
Okta API Service Client Secretfrom the Okta API Service Application Integration -
Click the
Sign Upbutton. - Follow the Okta login process.
-
You are now signed in to the XplicitTrust Management Console:
https://console.xplicittrust.com/ -
You can review and change the Okta Integration settings under
Account,Settings
Why is an Okta API Service Integration required?
To allow XplicitTrust to fetch existing user groups for the group import, an Okta API Service Integration has to be created that has the following scopes from the Okta Admin Management API :
| Scope | Description | Reason |
|---|---|---|
| okta.groups.read | Read group information. | Required by the User Groups Import feature, that allows to import groups from the Okta Directory to be used in XplicitTrust Policies. |
| okta.users.read | Read user' group membership information. | Required to synchronize the users Group Memberships. |